
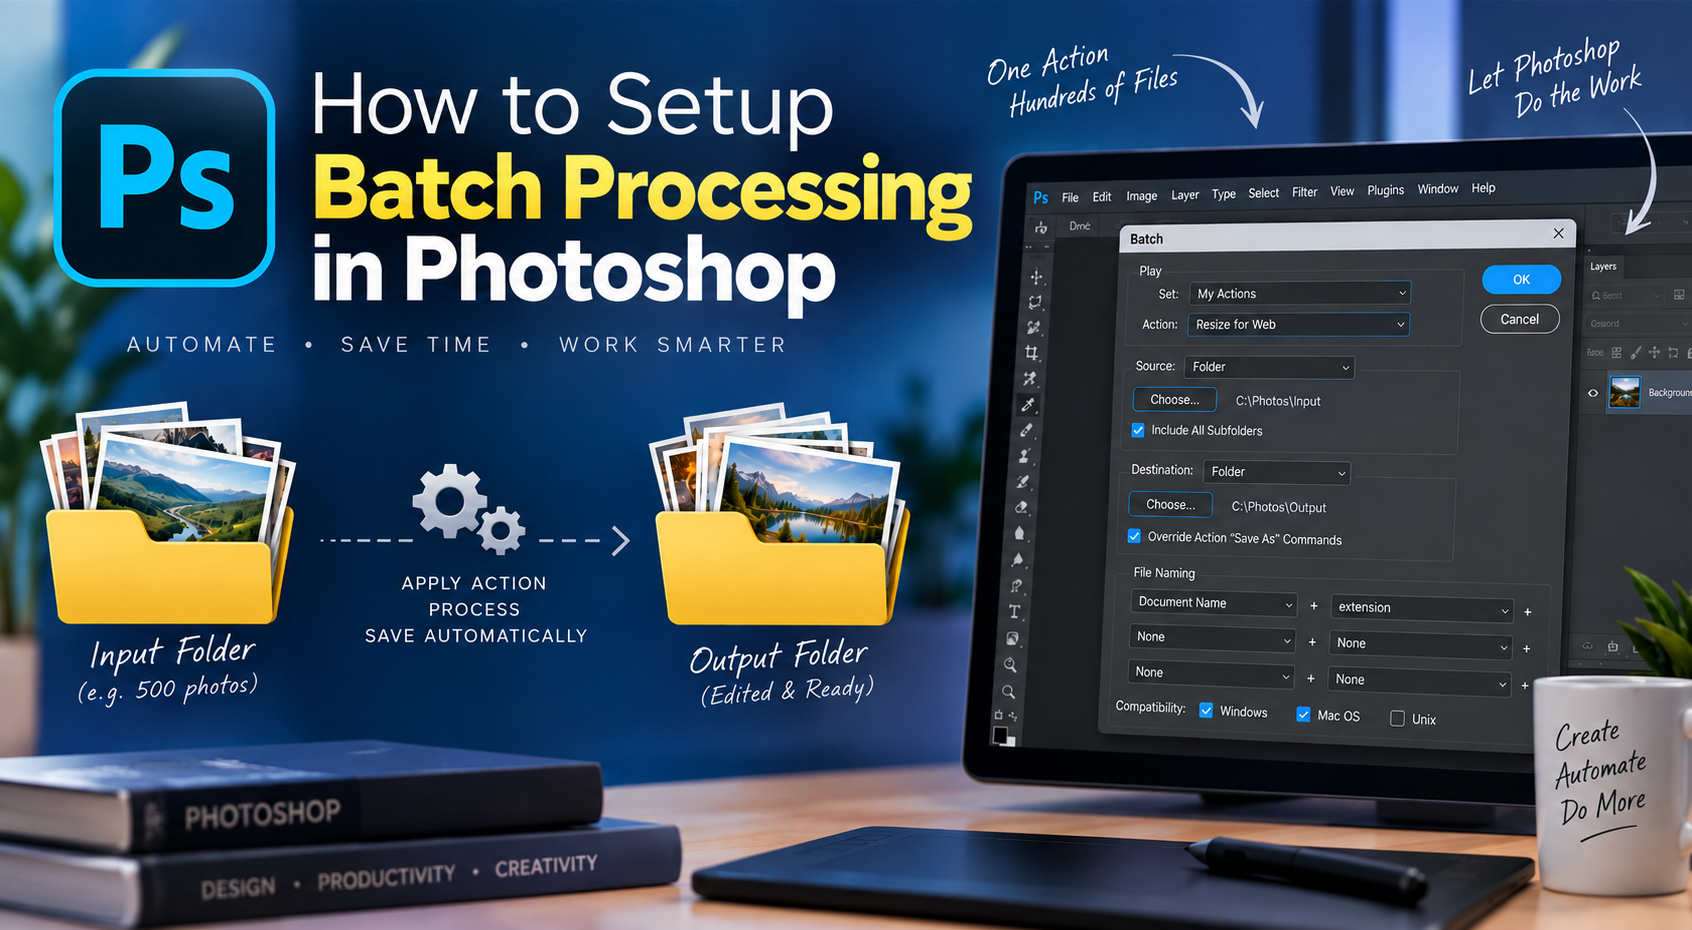
Batch Processing is really an amazing feature of Photoshop. It is fully an automated process once you set it up properly. Batch processing is actually used on large numbers of files while you need to do a specific kind of work, for example if you need to resize 500 photographs in one specific size or need to make some brightness and contrast correction, instead of doing the same thing one by one on 500 photographs which is really a boring and time consuming process, you will need just few clicks to set up the batch process and then you just relax on your chair and rest of the hard work will be done by Photoshop itself. But before you do a batch process, first you will need to create the “Photoshop Action” as per your desired output and I hope you are familiar with how to create a Photoshop Action. So here is the process of how to set up the Photoshop Batch Process –
Step 1
Open Photoshop and go to File > Automate > Batch

Click on the Batch to open its dialog box
This is the Batch dialog box –

Step 2
From the Batch dialog box select your desired set of Action

And then select the specific Action you need from the dropdown

Step 3
Now go down to Source section and select the source type. Though there are four different kinds of source type, but in this tutorial, we will use the source type as “Folder”.

After selecting the source type, you need to select the source location of your original files you want to process, to do this, click on the Choose button and navigate to your source location.

Step 4
Go to Destination section and select the destination type as “Folder” from the dropdown.

Now you need to select a destination folder where all your final output of files will be saved after the batch processing.
Click on the Choose button and locate your destination folder

After selecting the destination folder, right bellow the “Choose” button, you will see a checkbox saying Override Action “Save As” Commands. You need to check this box to avoid the “Save As” part while the Photoshop Action will be applied on the original file and saving it to the destination folder. But remember, this checkbox depends upon your Photoshop Action, if you’ve not included the “Save” or “Save As” step in your action while you created it, no file will be saved in your destination folder after the completion of batch process.

Step 5
After successfully completing the previous steps, this step is the most important part of the process, the File Naming section gives you the full independent to play with the naming of your final output files.
From the first list box, select Document Name and from the second right list box select extension and you may leave rest of the four list boxes blank by selecting None.

If you want make your file names to be compatible with Mac OS as well as Unix based OSes, you may check the both option before start the batch processing.

Hurrah! Everything is ready to start the Batch Processing by clicking on the OK button sitting on top right corner. But before that, I will suggest you to re-check the whole options from beginning to end to ensure that everything is set properly, specially the Action, Source Folder and Destination Folder.
Conclusion
Batch process is a unique feature of Photoshop with lots of potentiality. You can do lots more things with this feature except just resizing or watermarking the photographs. Play and spend time with it to learn how you can utilize batch process with your day-to-day Photoshop works.
